A.I Pocalypse

Made in Unreal Engine 5
Project Overview
A.I Pocalypse is product of my major project work for my university degree. It is a game set in a post-apocalyptic city where the player must navigate through the environment while avoiding detection from rogue A.I enemies.
My Contributions
  • Designed the environment
  • Coded game mechanics and enemy A.I
  • Modelled and textured various assets
  • Animated enemy movement and animations
Process
My inspiration for this idea came from popular sci-fi films and movies depicting A.I uprising. As A.I technology in the real world continues to grow and advance, the bleak and dystopic plot of such films and shows grows ever closer to possibly becoming a reality. This is what I wanted to show and commentate on in my work: A.I Pocalypse.

As for the creation process, I modelled various assets of the environment including the numerous buildings within the scene as well as the enemy models. The buildings were modelled as modular pieces within Maya and then exported into Unreal Engine to piece together. The models were then textured in Adobe Substance Painter where I experimented with trimsheet textures along with more specific textures. The enemy animations were then animated within Maya and exported into Unreal Engine.

For the enemy A.I, I used Unreal Engine's A.I Behaviour tree system to create the movement and interaction of the enemies. They are coded to patrol, until they see a player, where they will then attempt to shoot. If the A.I loses sight of the player, they will then move to the player's last seen location and search around. If the player is not detected, they will resume back on the patrol path.

Goofy Golf

Made in Unreal Engine 5
Project Overview
Goofy Golf was a University project created by a group of 4 people. It is a mini-golf style game where you play as the ball, trying to navigate through obstacles and reaching the hole at the end of a course. Along the way, you can pick up powerups which enhance and transform the way you can traverse a level. On top of this, the game can also be played in VR, where the player must hit the golf ball with a club instead of directly controlling the ball.
My Contributions
  • Designed all the courses in the game
  • Created animations using the inbuilt niagara system
  • Coded multiplayer functionality
  • Coded the VR aspects of the game
Process
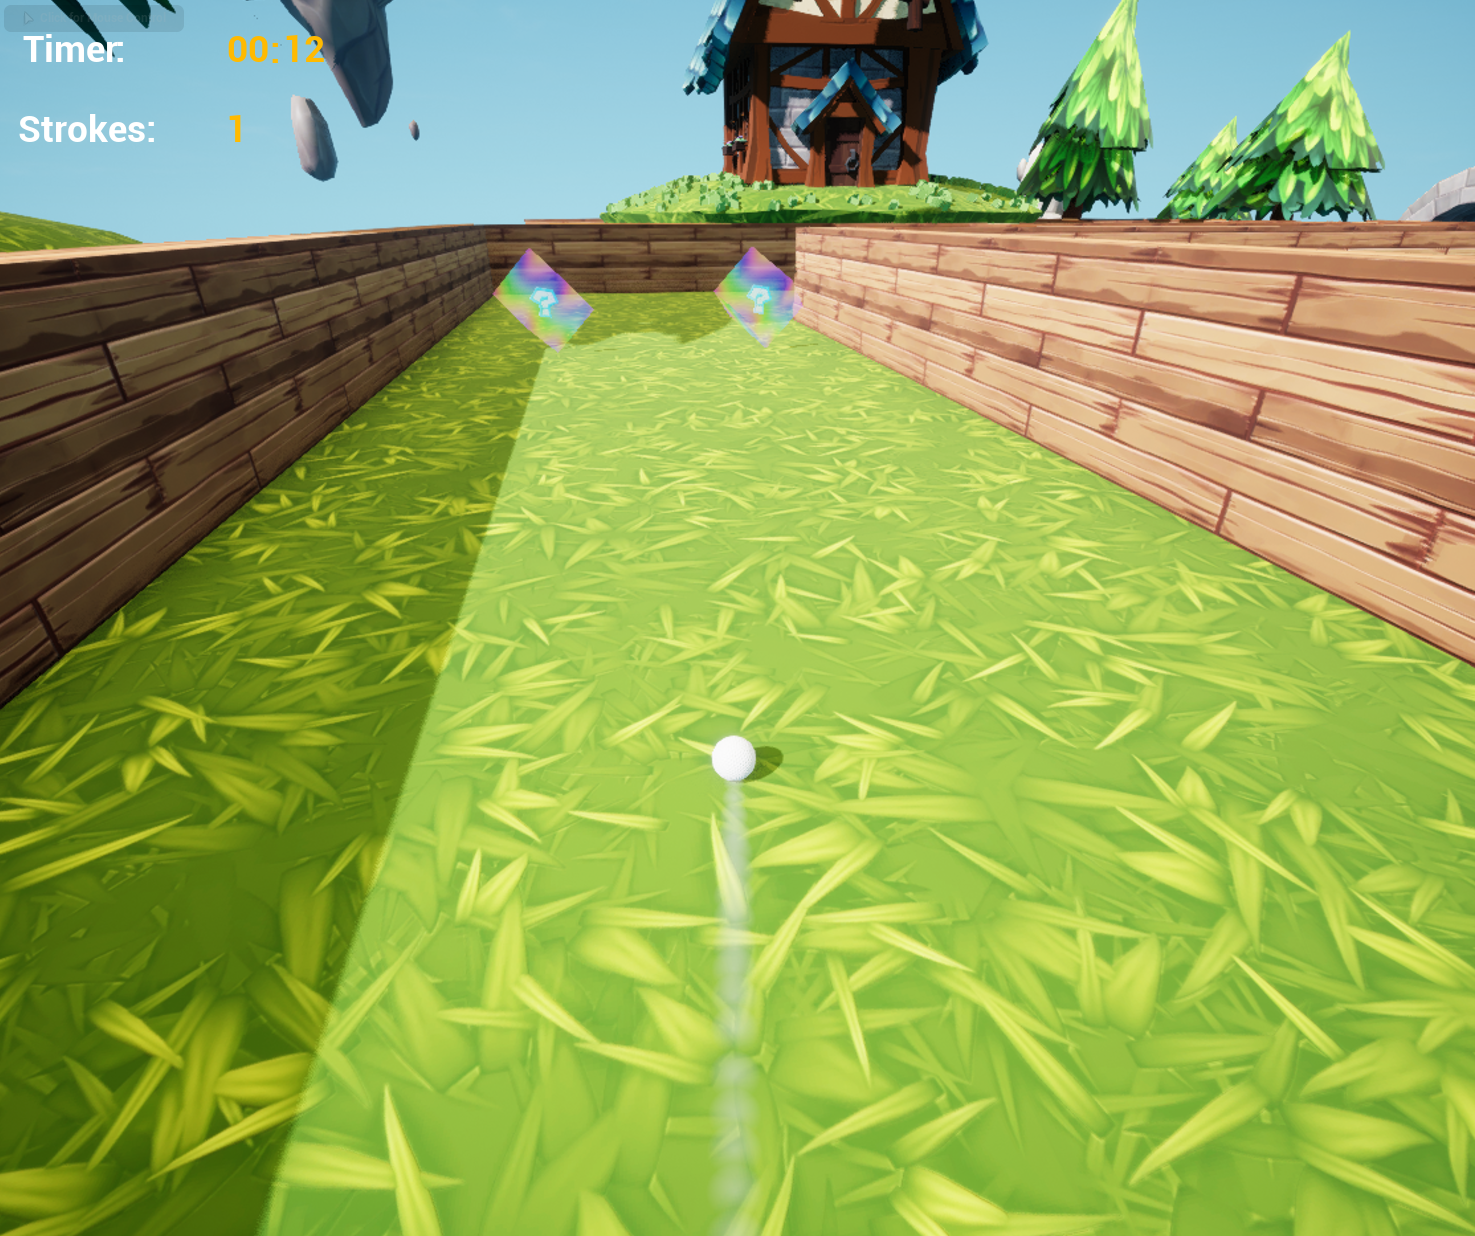
We were tasked with creating a game using Unreal Engine 5 for a university project. It was the first course I did for Unreal Engine 5 and a lot of the development process was self-taught. In our group, I was the most familiar with game design so I took on a leadership position in determining the end result of Goofy Golf. We split tasks amongst our team: Ball control and movement, level design, powerups, and UI.

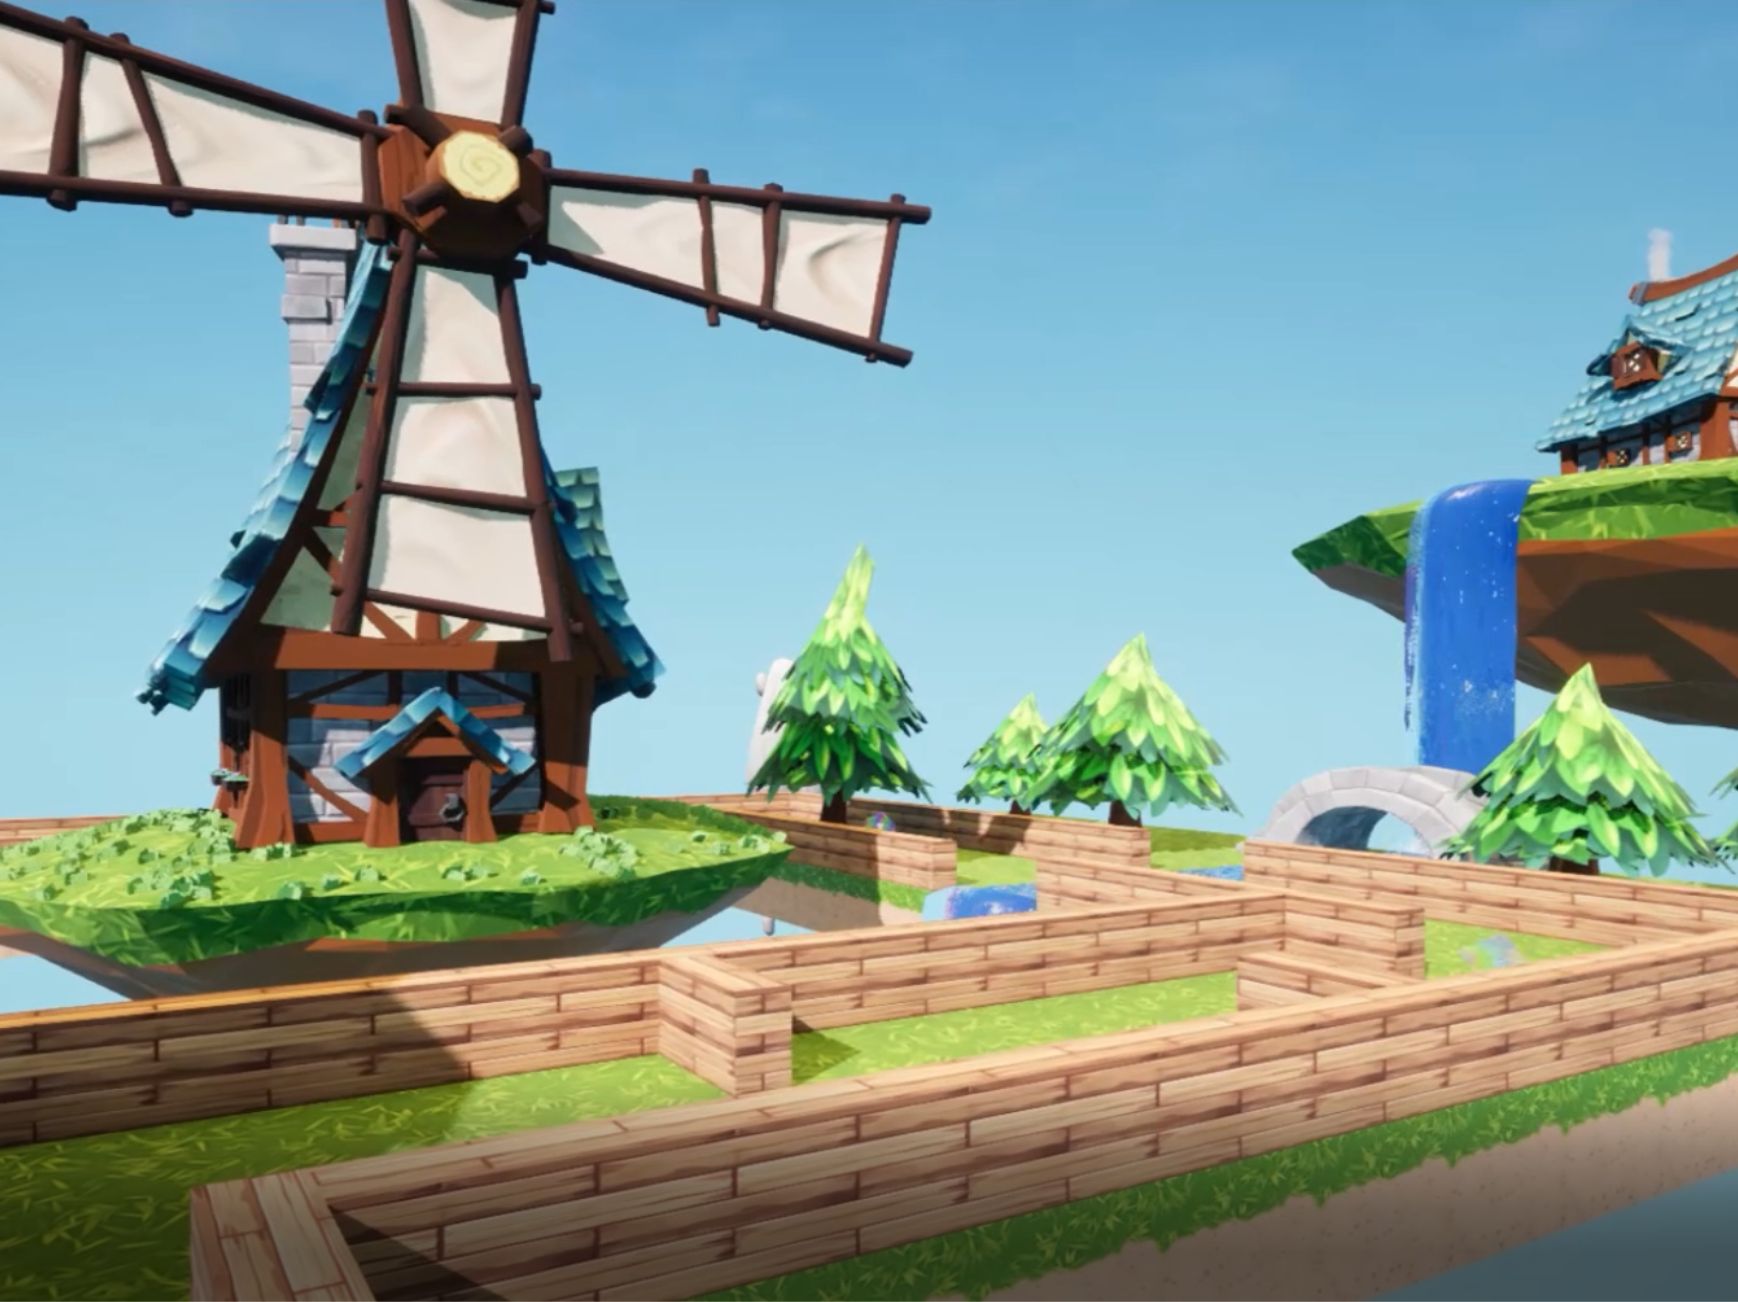
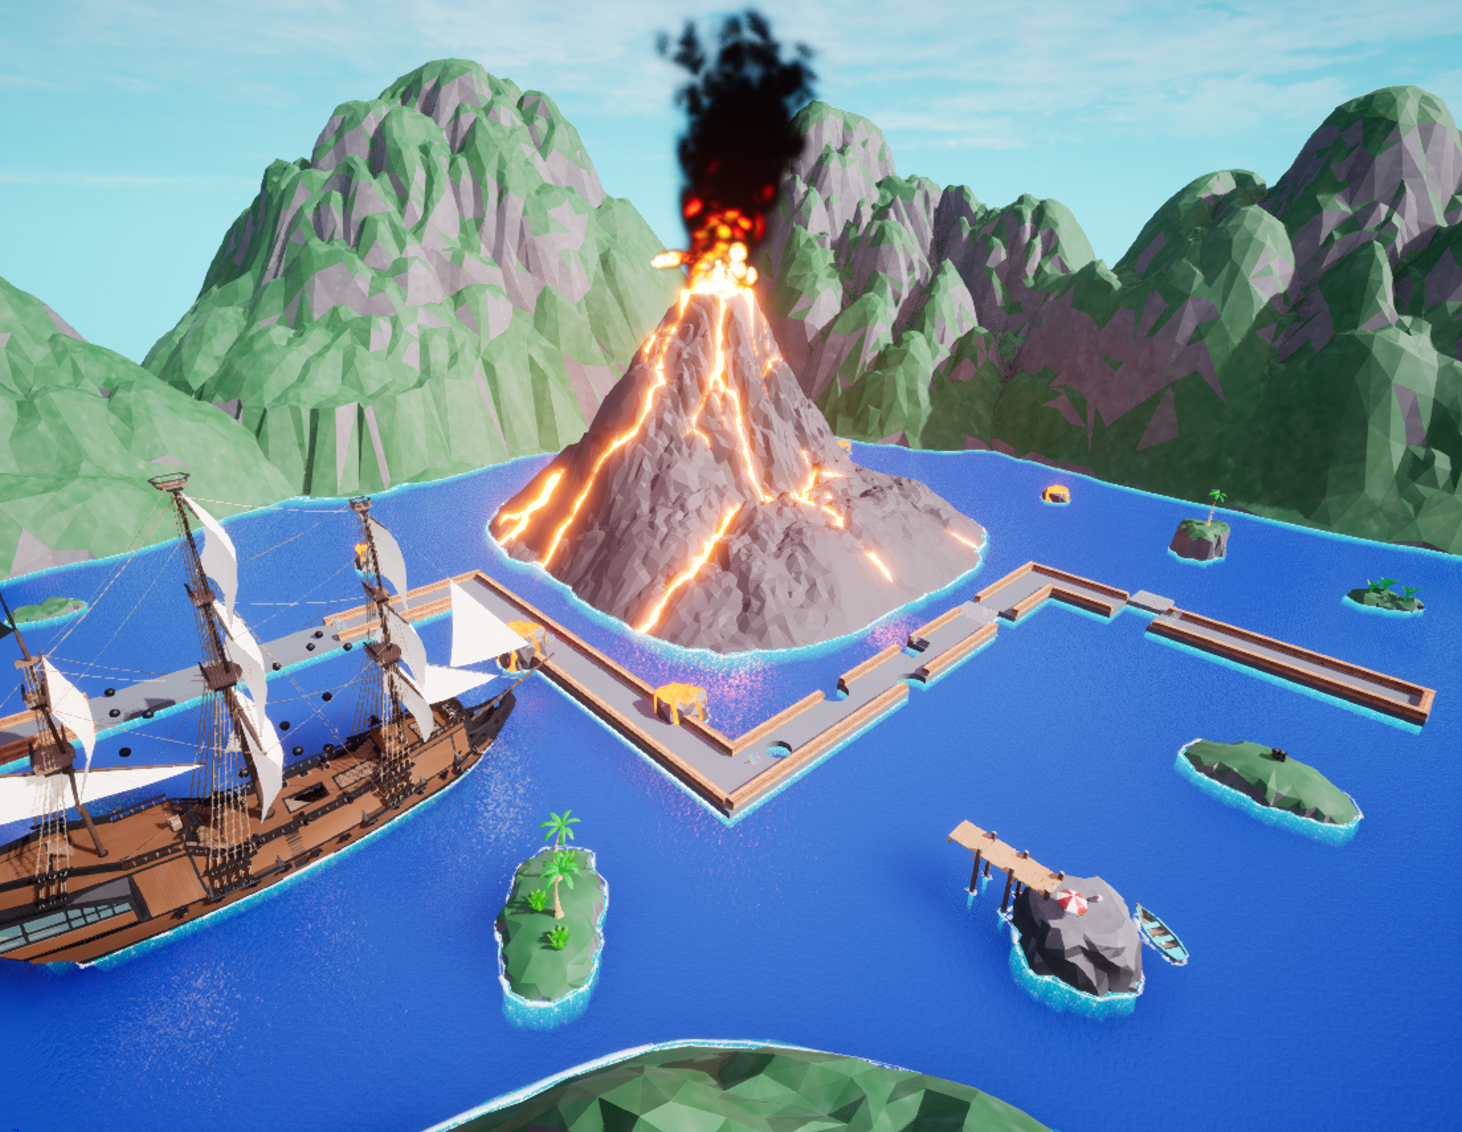
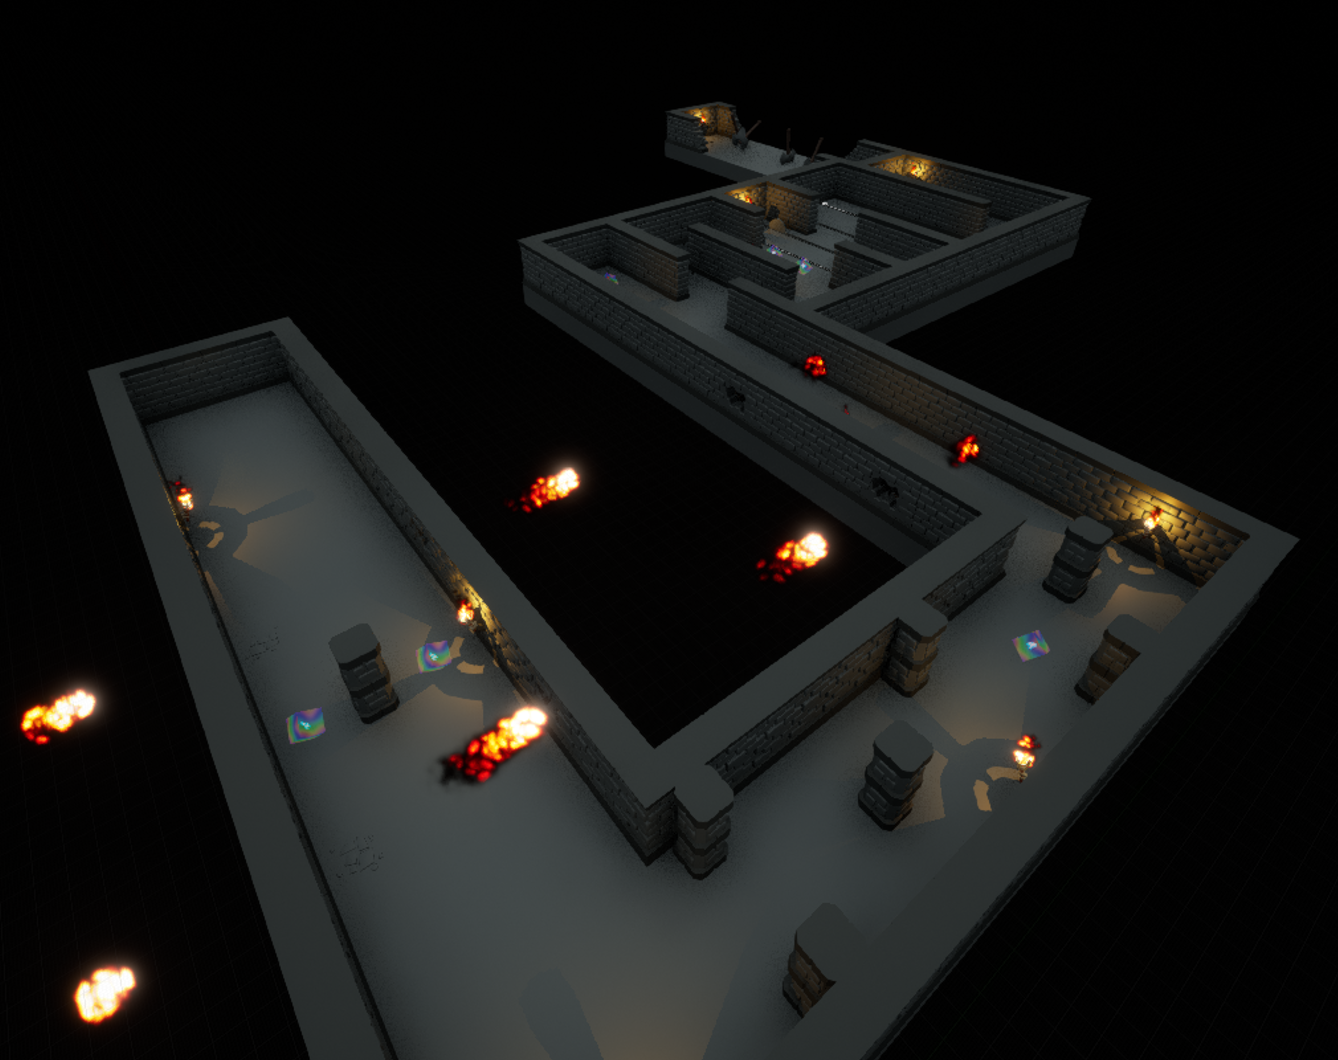
I took on the level design role and we agreed on a stylized low-poly art style for the project. In the creation process, I took inspiration from other games such as "Golf with Friends" and Discord's "Putt Party". As the assessment was mainly game development based, I took a lot of the assets from the Unreal Marketplace as well as assets online. My goal was to create three distinct and unique levels, each with their own themed obstacles and challenges for the final product. The creation process of each level required a lot of planning and experimenting as well as feedback from peers and game testing. I wanted to make sure each level was not too difficult, but which also offered a unique challenge to players. In the end, we ended up with 3 very differing levels which I am proud of.

In addition to level creation, the assessment also required us to port the game over on VR. It was not a huge part of the assessment but offered a great deal of challenge to us. I took on most the responsibility of porting the game controls and mechanics over to VR. The most challenging aspect of this was completely redesigning how the game was played. As the original was a third-person game in which the player controlled a ball, we couldn't just put the VR camera on the ball and call it a day. Instead in the VR version, we opted to control a human character which could use a golf club to hit the ball, rather than controlling the ball itself which made more sense in terms of gameplay. A lot of the movement and physics interactions in VR were also self-taught.

Finally, we decided to go a bit further and beyond the scope of the course by experimenting with multiplayer functionality. This was the most challenging aspect for us as syncing data between server and client were unexpectedly difficult. For this, we used Unreal's inbuilt session creation and join system to create a connection between two players. We then had to redesign all the code in the game to allow for replication - essentially allowing the server and clients to see the same thing at the same time. Lastly, once we got multiplayer working, we worked on multiplayer exclusive powerups and VR features.

Submerged in Time

Made in Unity
Project Overview
Submerged in Time is a 3D environment set underwater in an ancient ruined city. It is a playable experience meaning players can freely roam and explore the environment. There are various interactions in the experience that occur when you move close enough to a specific area.
My Contributions
  • Modelled all assets except the fish and plants
  • Scripted the interactions and animations
  • Designed environment
Process
The creation process first began with the ideation step. I wanted to create an eerie underwater environment so I took to brainstorming. In the process, I was inspired by the legend of the lost city of Atlantis and so I did a lot of research into that as well as real world cities that have been submerged underwater. After that, I greyboxed an environment in Unity, planning out the environment as well as the lighting and atmosphere.

For the models, I decided to go with a modular approach, so for some structures like walls, I modelled just one brick and then built a wall brick by brick within Unity. For other structures like the colosseum or temple, it was a similar modular process but with varying pieces such as pillars or arches.

After modelling the various modular assets, I used Adobe Substance painter to texture each of them. As they were underwater, I created concrete textures with hints of erosion and decay along the edges of the surface for the various structures. For the giant fossils and bones scattered around the environment, I used the same edge erosion for the bone texture.

I placed the models in the scene and began coding and scripting various interactions and animations for the player. A distinct interaction happens near the beginning where a pillar collapses in front of the player. That was done through a simple trigger box which plays an animation of the pillar falling when the player steps within a range.

Lastly, because of the low visibility nature of the environment, I had the challenge of the player not knowing where to go. To solve this, I had 2 layers of in-game guidance provided, with one being obvious and another being subtle. The obvious one is the giant light that guides the player from one destination to another. The subtle one is the direction that the fishes swim along with audio cues. Both these systems are in place to hopefully guide the player along the environment.

Haunted Hospital

Made and rendered in Maya
Project Overview
Haunted hospital is a short video showcasing a 3D environment that I designed and modelled. The environment was rendered in Maya and the video was edited in post with adobe aftereffects.
My Contributions
  • Modelled all assets
  • Designed environment
  • Edited in post
Process
I had the idea of creating a spooky and abandoned hospital environment. I was inspired by a lot of horror games at the time such as resident evil and silent hill and wanted to create one of these eerie environments myself. I began with a simple greybox of the environment, laying it out and creating a camera animation to walk through the environment.

I then moved on to modelling. I used a lot of real world objects as reference and modelled key objects such as the bed, surgery lights and tools. The other models were created with a modular approach such as the cabinets, lockers and tables. The models were then textured within Maya using arnold surfaces as the base. To give the environment an abandoned atmosphere, a lot of the textures were merged with other textures such as rust, dirt and blood.

After the environment was set up, I rendered the scene out from the walkthrough camera through Arnold within Maya. Special effects such as the camera UI, sound effects and ghost were added in post through adobe aftereffects. I put in a lot of attention to these details such as the sound of flickering lights transferring from one ear to another as the direction of the camera changed, the VHS feel of the overall camera and the translucency and lighting of the ghost in the hallway.

Art Deco Lamp

Made and rendered in Maya
Project Overview
This lamp was designed with an inspiration from the art deco style and later modelled in Maya.
My Contributions
  • Modelled all assets
  • Concept design
Process
For a 3D modelling course, I was tasked with creating and designing an everyday object with a specific design style. I decided to design and model a lamp using the art deco style. I used and took a lot of inspirations from existing art deco designs like furniture, wallpaper and objects. In the design process, I took heavy characteristics of their design such as the symmetry and rectilinear geometry of the patterns, and their often gold colours.

For the modelling portion, The lamp is a simple rectangular prism with etched patterns. The guard surrounding the lamp was created by modelling one quadrant of the pattern and then duplicating it. The cord was then created by using curves and then revolved mesh around those curves to create the basic shape.

The textures were sourced online or created myself using Maya's inbuilt material system. The final result is then rendered out with the Arnold renderer in Maya.

Freedom Gundam

Made and rendered in Maya
Project Overview
This project is a 3D model of the ZGMF-X10A Freedom Gundam that I made as an early project in university.
My Contributions
  • Modelled all assets
Process
This was a project I started when I first began learning 3D modelling. I wanted to create something cool so I decided to try my hands on modelling a Gundam.

The modelling process began on the head. I modelled half the head first from a sphere and added details to it using other objects. The head was then duplicated and mirrored. The body was then created using a similar process of modelling the basic shape and then adding primitive objects to add detail. The rest of the Gundam followed the same process.

The textures were then created using Maya's material system and the model was adjusted into various poses to render out in Maya.